Verify the joint and temperature route
Confirm the segment drawing, joint thickness, erection sequence, component identity, approved temperature grade and available working time.

Field application guide
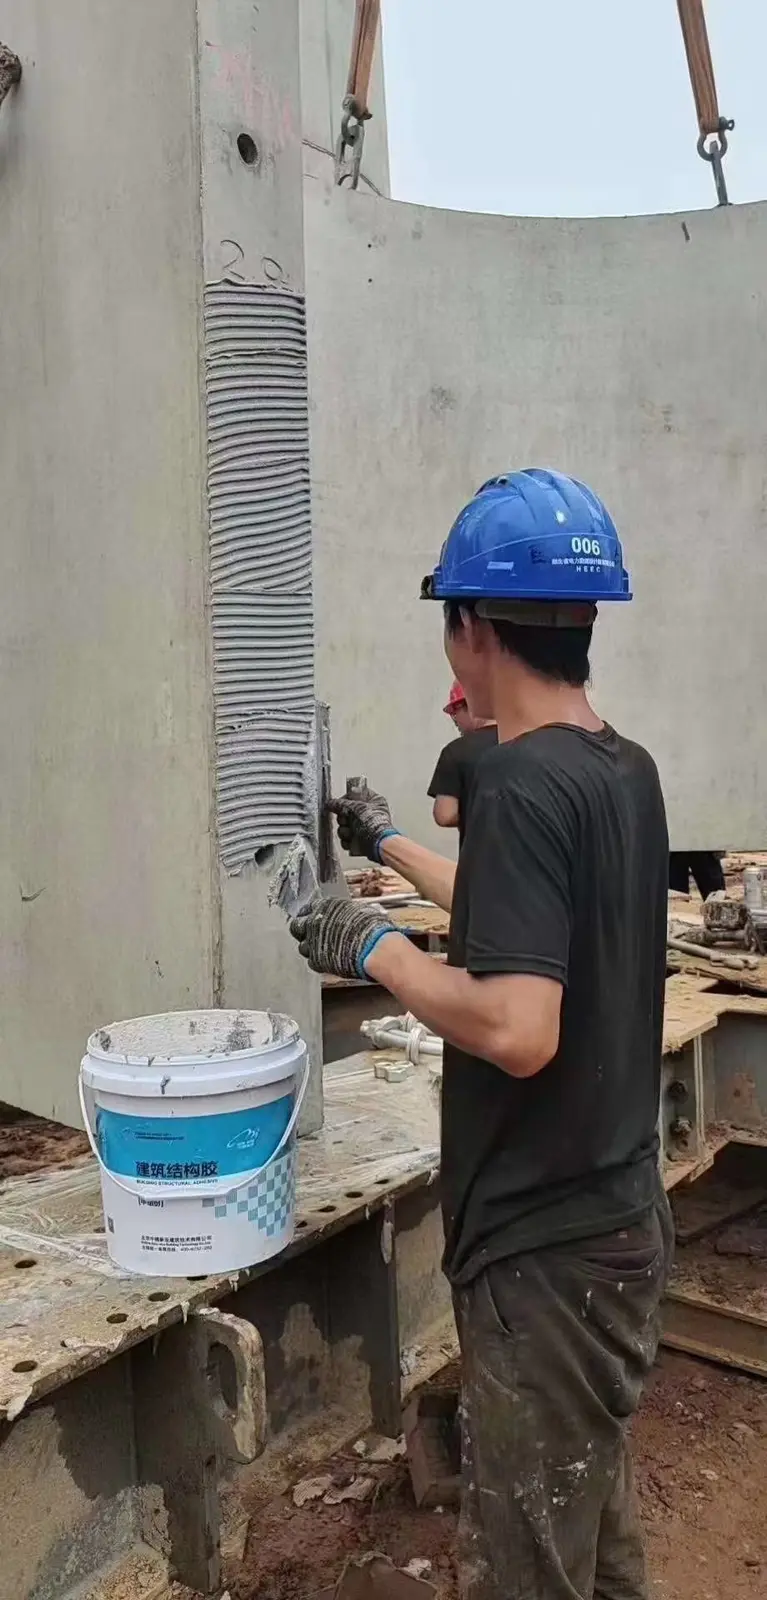
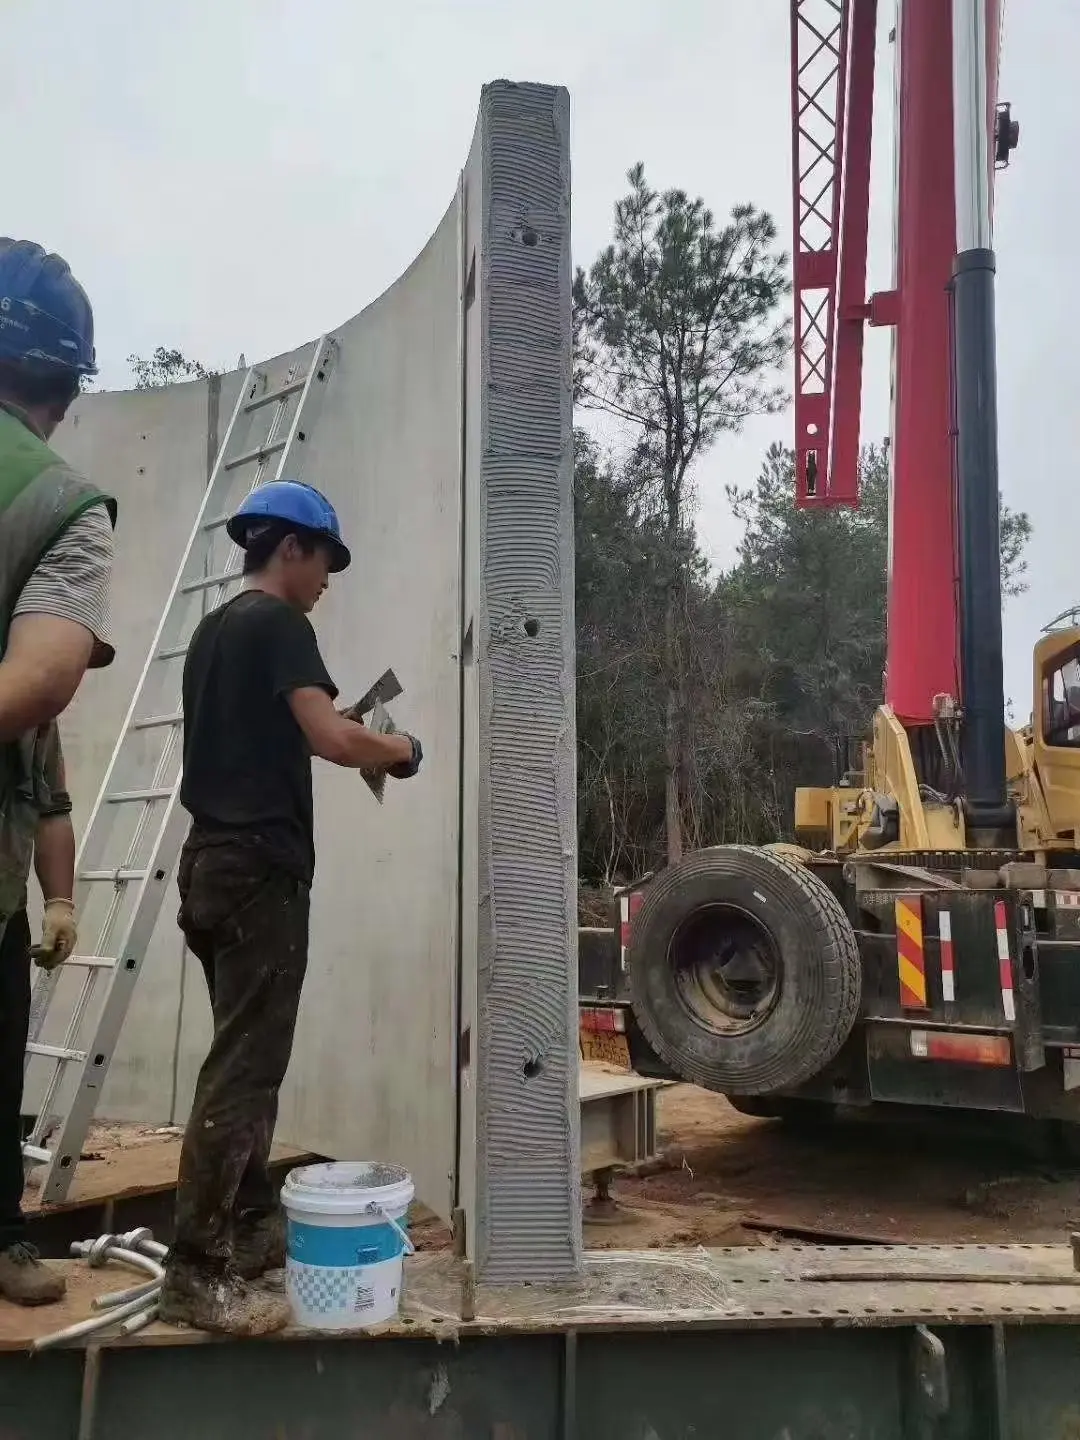
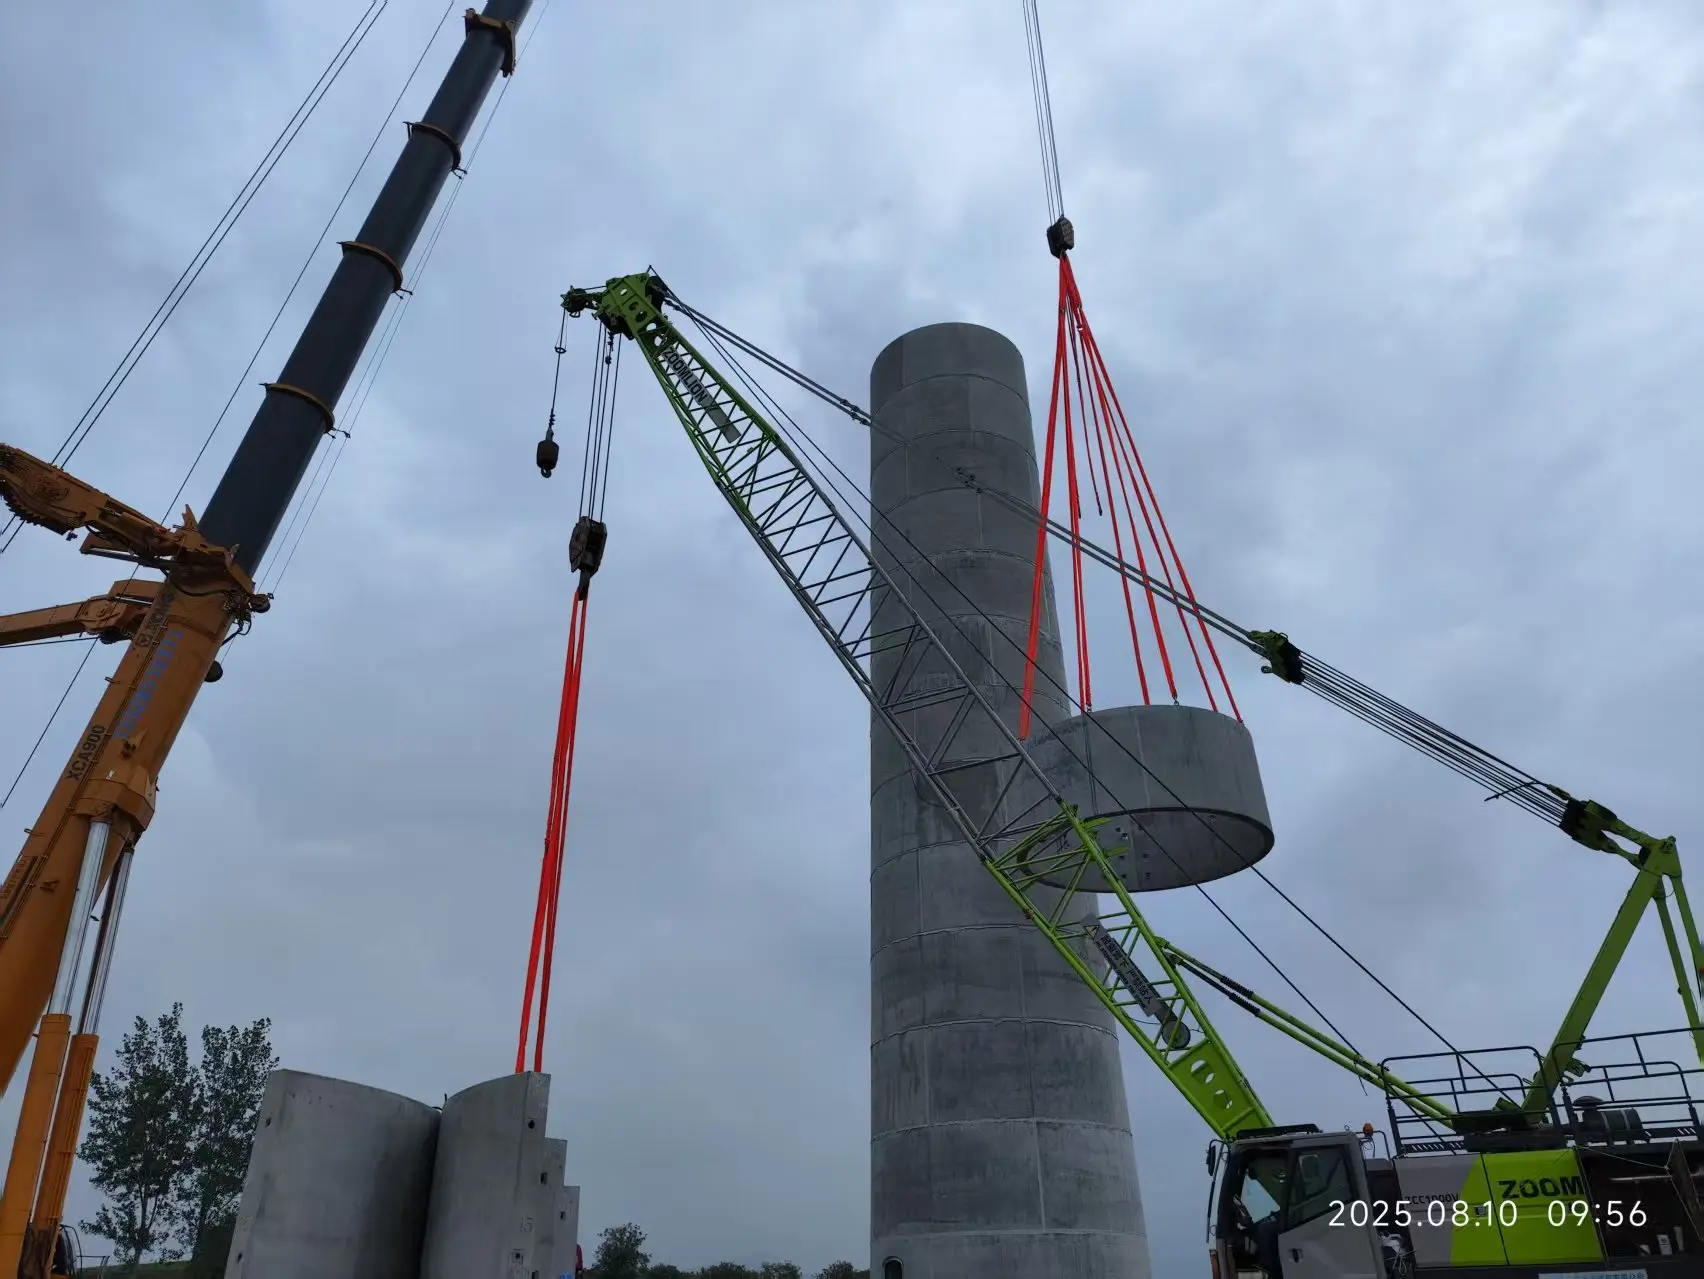
Use the photographed joint process to plan substrate preparation, component control, serrated-trowel coverage, lifting and final inspection.
Photographed application
The supplied photos are upright, used in their true construction context and captioned only with what is visibly established. No project-party name is stated.

Application sequence
The product page separates tested values from requirements. The approved TDS and project method statement govern component ratio, time, temperature and release.
Confirm the segment drawing, joint thickness, erection sequence, component identity, approved temperature grade and available working time.
Remove laitance, dust, water, curing compound and weak material. Repair unacceptable edges and confirm that the joint is sound, clean and within the approved moisture condition.
The supplied Kuaizhuang product information states A:B = 3:1 by mass. Use complete kits or calibrated scales, scrape the container sides and mix to a uniform colour without unblended streaks.
Use the approved serrated trowel and direction to create continuous adhesive coverage. Avoid dry gaps, contamination and material that has exceeded its approved working time.
Complete lifting and alignment within the approved application and bonding window. Keep the joint stable while the segments close and the designed thickness is achieved.
Inspect accessible squeeze-out, joint continuity and alignment. Record batch, ratio, temperatures, times and nonconformities, then protect the joint until the specified cure or release condition is met.
Inspection focus
Record product and batch identity, A/B ratio, mixing start, ambient and substrate temperatures, application finish, segment closure, accessible squeeze-out and any repair.
Technical enquiry
Include the wind structure and connection drawing, geometry or bond line, volume, specified performance, temperature, standards, installation window and equipment.